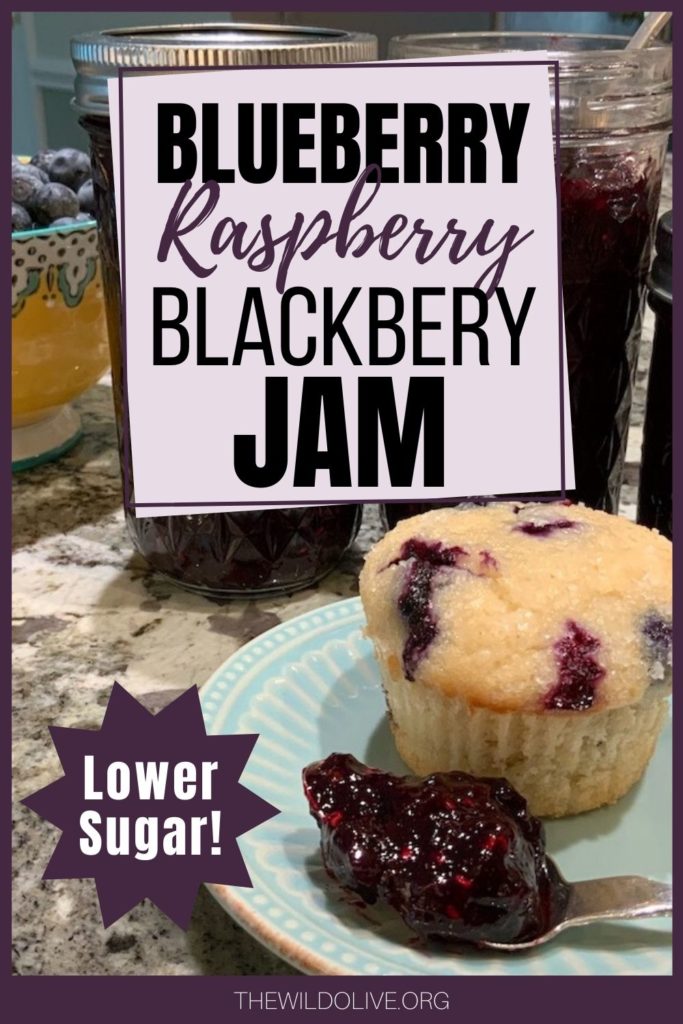
Mixed Berry Jam

Mixed Berry Jam is a miraculous thing – especially this old-fashioned version that uses FAR less sugar and no added pectin. The fresh, sweet-tart flavor of the berries shines through without being buried under a mountain of sugar. Even if you’ve never made jam before, this method is easy to master. An accurate, instant read thermometer will help you tell when your jam is done, but I’ll share my tips and tricks for doing it the way our Grandmas did it – by sight and feel. This is a delicious jam you can feel good about enjoying on your morning toast or in a good ol’ PBJ!
Ingredients for Mixed Berry Jam
- 1 lb 4 oz Blueberries
- 8 oz Raspberries
- 8 oz Blackberries
- 2 cups sugar
- ½ tsp. citric acid or 2 Tbsp lemon juice
Ingredient Notes
It’s perfectly fine to use frozen berries if you don’t have fresh. In fact, unless you pick those berries yourself and know for sure they are perfectly ripe, frozen might be best. Frozen fruit is picked ripe, while fruit meant to be eaten fresh is picked underripe to endure shipping.
For this batch of jam I used blueberries my hubby had just picked from our patch and frozen raspberries and blackberries. Tip for Costco members: they sell big bags of mixed frozen blueberries, raspberries and blackberries. Just weigh out 2 lbs 4 oz of the mixture and proceed from there!
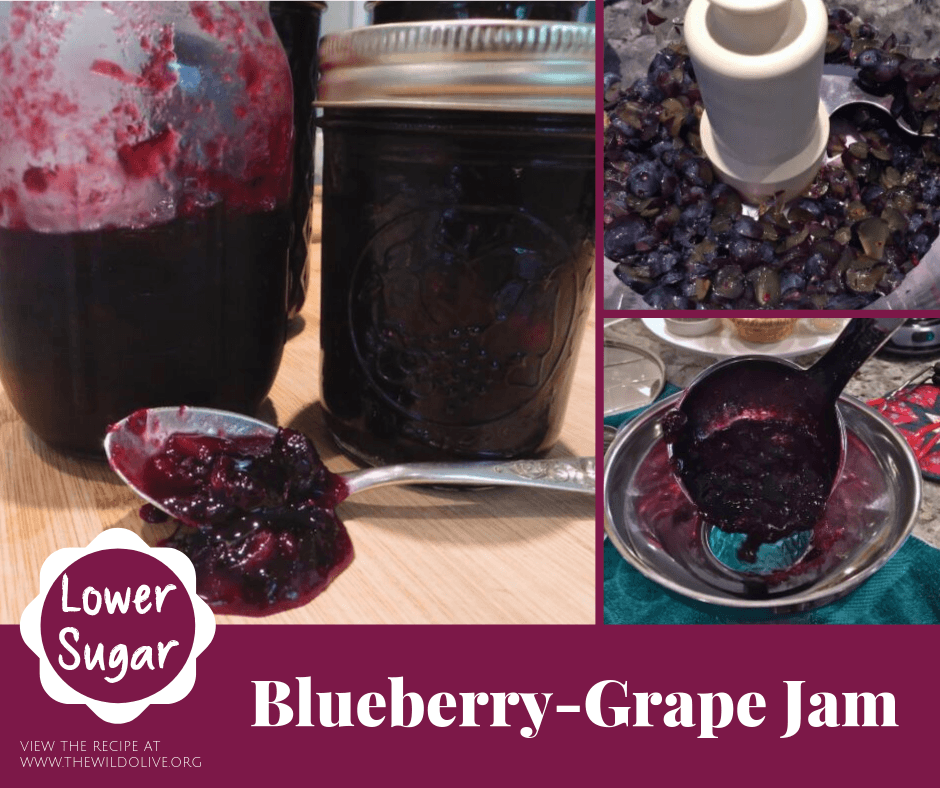
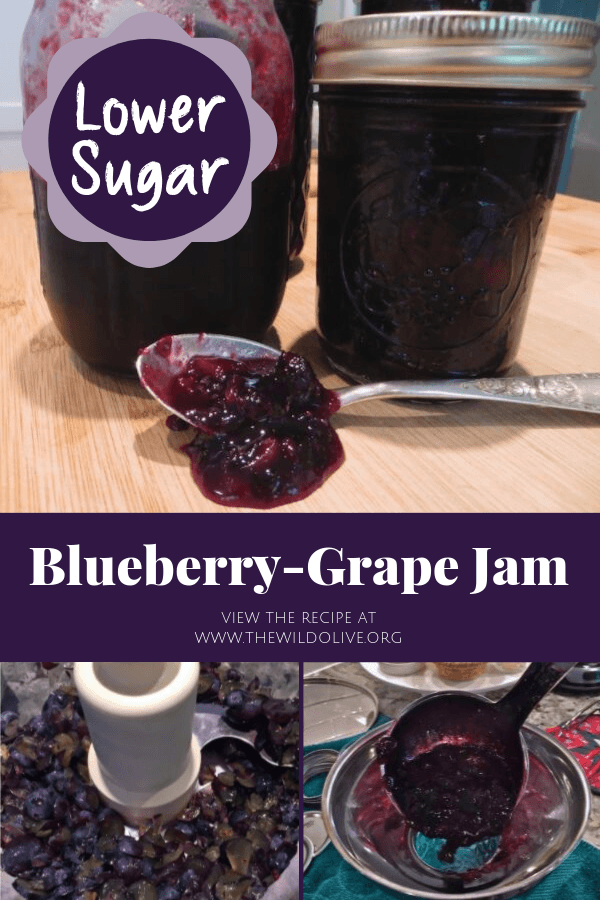
For more information on how (and why!) to make lower-sugar, no pectin added jams plus detailed instructions on the canning process, please see my recipe for Blueberry-Grape Jam. Otherwise, read on…
Prepping the Fruit
Place berries in a large glass or stainless steel bowl. If berries are frozen, allow them to thaw somewhat before lightly mashing the fruit with a potato masher (the bottom of a large canning jar also works well). The goal is not to puree the fruit, just lightly crush the raspberries and blackberries and “pop” as many of the blueberries as you can.
Add the remaining ingredients and fold together to moisten all the sugar. I like to use a large silicone spatula for this task, as well as for stirring the mixture during cooking. Allow mixture to rest 30 minutes to dissolve sugar.
After 30 minutes, stir the berry mixture to ensure all sugar is dissolved. Try to catch any blueberries that are still whole and “pop” them on the side of the bowl with your spatula. It’s okay if a few escape at this point – you’ll get them during cooking! 😄
Let the mixture continue to rest for another 90 minutes, stirring every half hour or so. Yes, the 2 hour wait is necessary. During this time the natural pectins in the fruit are being drawn out – a process known as maceration. Without those pectins, your jam will never set. Your patience will be rewarded, as Alton Brown always says!
Prepare Your Equipment
While your berries are macerating, prepare your canning jars and a hot water bath for processing your jars. Again, for more detailed instructions on canning and cooking the jam, see this post or consult the Ball/Kerr Preserving website – the ultimate resource for all things preserving!
This recipe makes 4 half-pints of jam. You may get a little extra, so have a small extra jar or tupper ready for that. You don’t need to process that partial jar – just pop it in the fridge and enjoy it first.
Let’s Cook Some Spectacular Mixed Berry Jam 😁
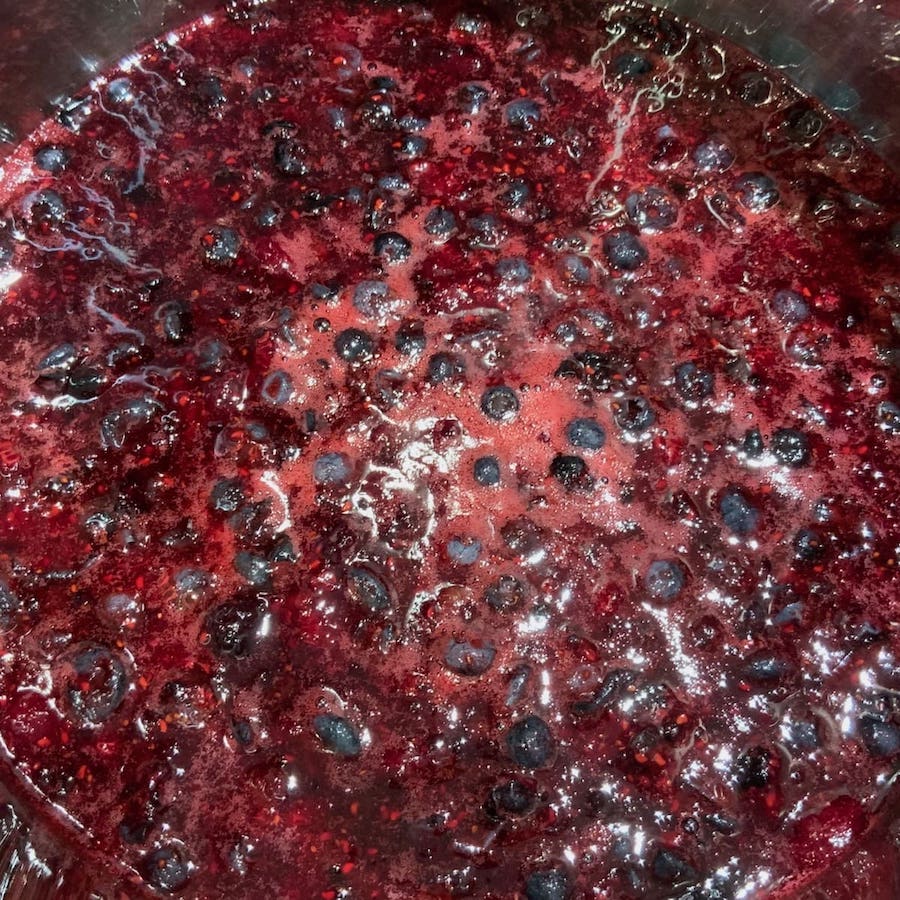
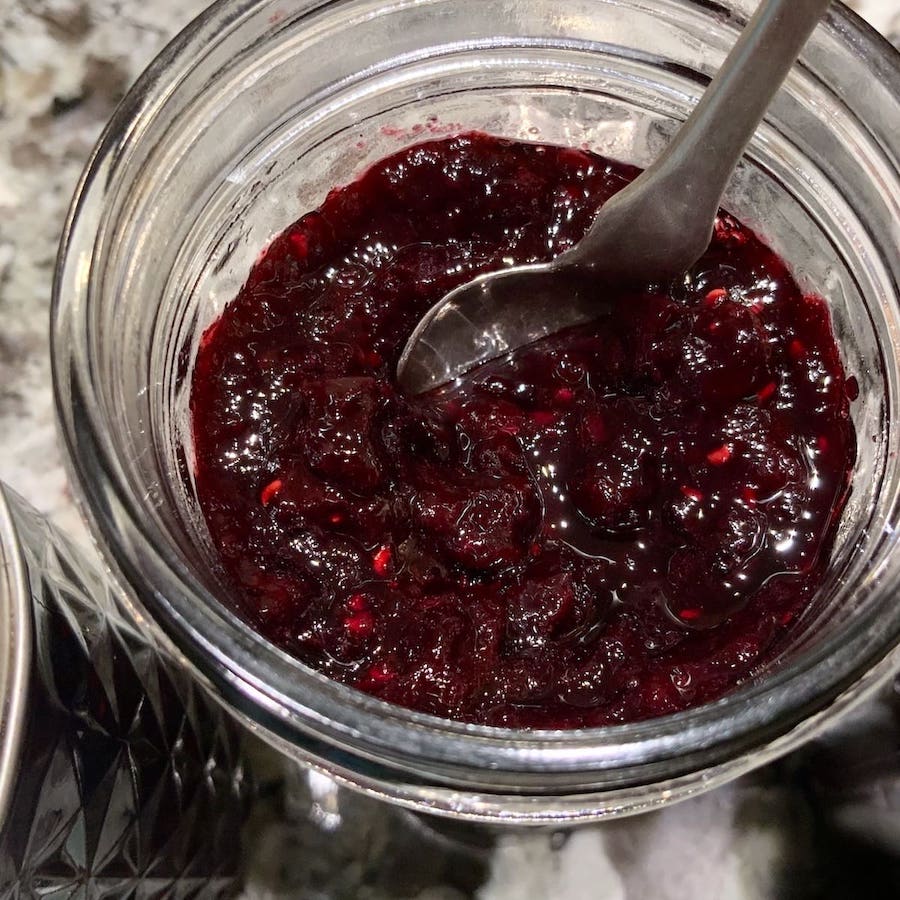
Carefully pour the berry mixture into a large, heavy bottomed stainless steel or other non-reactive pot. Over medium heat, bring mixture to a fairly vigorous boil, stirring often. As you can see in the snap below, any whole blueberries will rise to the top – just ease them over to the side of the pan and gently press on them with your spatula until they burst. Be careful not to splatter yourself!
Continue to boil the mixture, stirring frequently to prevent sticking/scorching until jam reaches the gelling point (this should take anywhere from 10-15 minutes). Technically the gelling point is approximately 8 degrees F above the temperature at which water boils where you are preparing your jam. In my kitchen water boils at 210, so for me jams gel at around 217-218. It’s helpful to take the temperature of a pot of boiling water to see what your target is (the higher the altitude you live at, the lower the temperature at which water will boil, and thus the lower the temp you will need to achieve to get your jam to gel).
The mixture will foam a bit as it cooks. However, most of the foam will subside as the mixture reaches the gelling point. For this reason I wait to skim off any remaining foam until the very end, when I’m ready to put it in jars. Why? If you skim throughout the process you will drastically reduce your yield!
How to Tell When Your Mixed Berry Jam Has Reached the Gelling Point
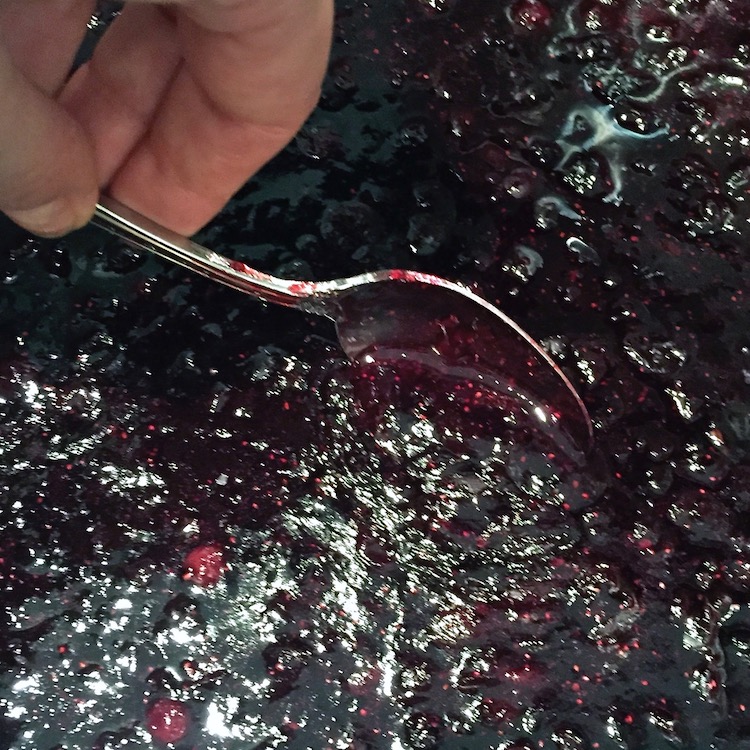
I have been making jams for so long I no longer bother to use a thermometer. You can tell that the jam has reached the gel point when it thickens noticeably. When you see the jam has thickened, turn off the heat and let the jam rest a minute. If the jam has reached the gelling point, you will see a thin “crinkly” skin on the top of the jam when you gently drag your spatula thru the mixture. Below is a picture illustrating the crinkly skin on a batch of Blueberry-Grape Jam. Do you see those little ridges on the surface of the jam as the spoon pushes through? That’s what you’re looking for.
If you don’t see that crinkly skin, bring the jam back to a boil and cook another minute or so. Keep testing till you see your jam is ready
Processing the Jam
Pour cooked jam into sterilized jars, seal and process in a boiling water bath for 10 minutes. Turn the heat off the boiling water bath and let the jars rest in the water for 5 minutes. Remove jars from water and allow to come to room temp. While it’s still hot, the jam will appear loose. Don’t panic – as the jam comes to room temp it will set up. Make sure all your jars seal before storing.
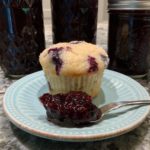
I love making my jams this low-sugar, no added pectin way. Not only do I feel better about eating less sugar, but the texture and flavor of these jams are superior. The jam is firm but not stiff, easy to spread but not runny – like a luscious scoop of fresh fruit. And the fruit flavor really shines through instead being of overwhelmed by gobs of sugar.
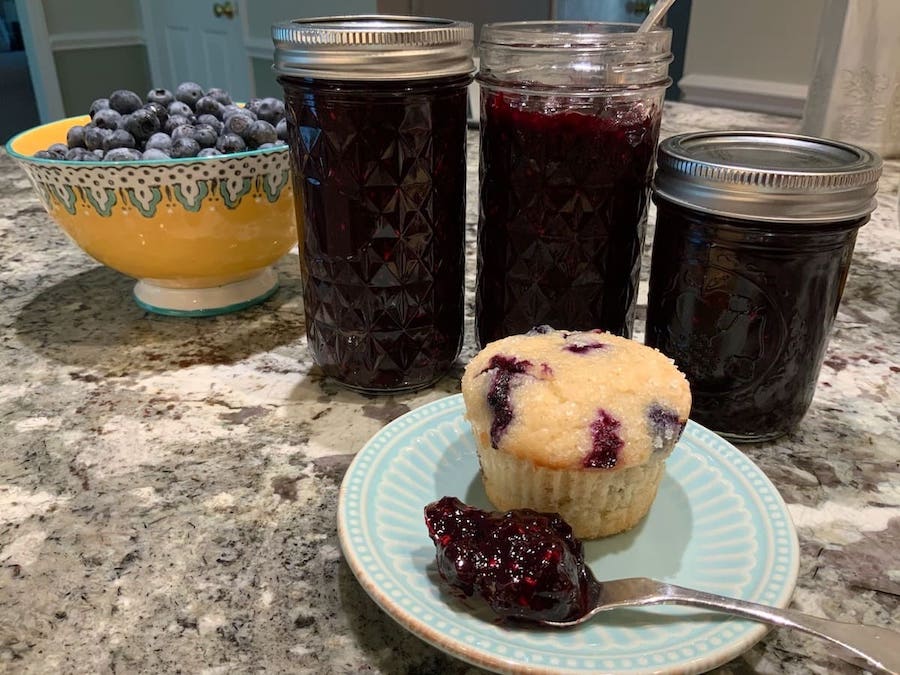
I hope you and your family enjoy this delicious Blueberry-Raspberry-Blackberry jam!

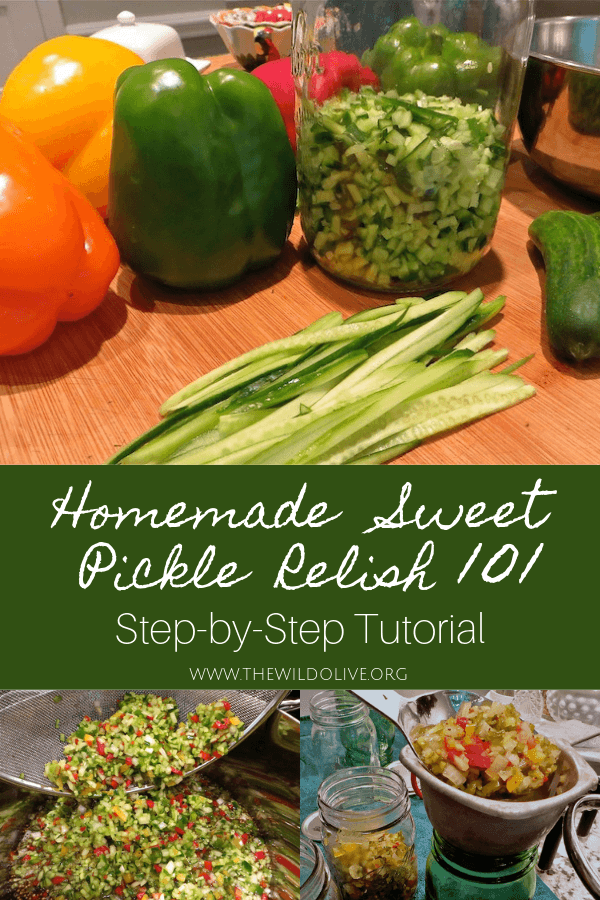
In the mood to put up some more summer preserves? Try these recipes!
Mixed Berry Jam
Ingredients
- 1 lb 4 oz Blueberries
- 8 oz Raspberries
- 8 oz Blackberries
- 2 cups sugar
- ½ tsp. citric acid or 2 Tbsp lemon juice
Instructions
- Place berries in a large glass or stainless steel bowl. If berries are frozen, allow them to thaw somewhat before lightly mashing the fruit. The goal is not to puree the fruit, just lightly crush the raspberries and blackberries and “pop” as many of the blueberries as you can.
- Add the remaining ingredients and fold together to moisten all the sugar. Allow mixture to rest 30 minutes to dissolve sugar.
- After 30 minutes, stir the berry mixture until all sugar is dissolved. Try to catch any blueberries that are still whole and “pop” them on the side of the bowl with a spatula.
- Let the mixture continue to rest for another 90 minutes, stirring every half hour or so. Yes, the 2 hour wait is necessary. During this time the natural pectins in the fruit are being drawn out – a process known as maceration. Without those pectins, your jam will never set.
- While your berries are macerating, prepare your canning jars and a hot water bath for processing your filled jars.
- Carefully pour the berry mixture into a large, heavy bottomed stainless steel or other non-reactive pot. Over medium heat, bring mixture to a fairly vigorous boil, stirring often. Any whole blueberries will rise to the top – just ease them over to the side of the pan and gently press on them with a spatula until they burst. Be careful not to splatter yourself!
- Continue to boil the mixture, stirring frequently to prevent sticking/scorching until jam reaches the gelling point (this should take anywhere from 10-15 minutes). Technically the gelling point is approximately 8 degrees F above the temperature at which water boils. It’s helpful to take the temperature of a pot of boiling water to see what your target is (the higher the altitude you live at, the lower the temperature at which water will boil, and thus the lower the temp you will need to achieve to get your jam to gel).
- You can either use an instant read thermometer to check when your jam reaches the gelling point. Or, you can tell that the jam has reached the gel point when it thickens noticeably. When you see the jam has thickened, turn off the heat and let the jam rest a minute. If the jam has successfully reached the gelling point, you will see a thin “crinkly” skin on the top of the jam when you gently drag your spatula thru the mixture.
- If you don’t see that crinkly skin, bring the jam back to a boil and cook another minute or so. Keep testing till you see your jam is ready.
- Pour cooked jam into sterilized jars, seal and process in a boiling water bath for 10 minutes. Turn the heat off the boiling water bath and let the jars rest in the water for 5 minutes. Remove jars from water and allow to come to room temp. While it’s still hot, the jam will appear loose. Don’t panic – as the jam cools to room temp it will set up. Make sure all jars are properly sealed before storing.